 16th - 17th January 2010:
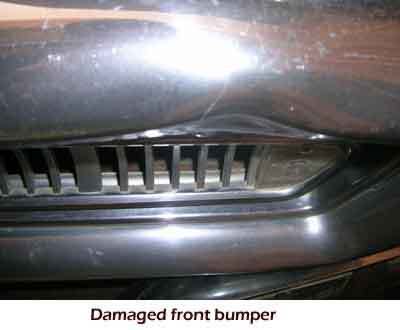
 When I bought the car it came with a replacement front and rear bumper. I already knew from the E-bay photos that the front bumper had been damaged. When the car arrived I discovered, and to the end of my days I will probably never know why, someone drilled a hole in the top left-hand edge of the rear bumper. So effectively both original bumpers were ruined and needed to be replaced. Fortunately the seller had already sourced two second-hand bumpers from a wrecked car. While they really could do with a rechrome, for the time being I decided to polish them up as they are and put them on the car.
The front of the 1958 Mercury is interesting in that it has no grille per se. The grille is actually incorporated into the bumper which makes for
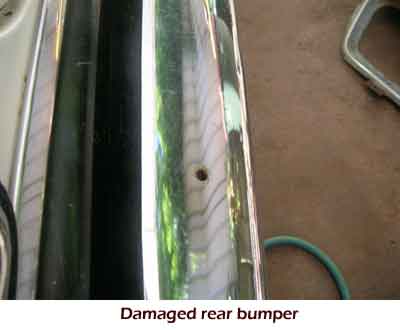
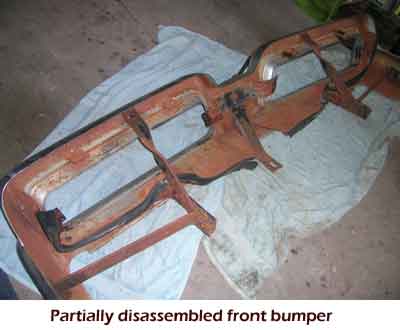
a unique look but also a very large bumper. In fact the front bumper consists of some 30 individual pieces and some 50+ fasteners. It's so heavy that I struggle to lift it unassisted. The rear bumper isn't quite so complex or heavy but it's still exceedingly heavy.
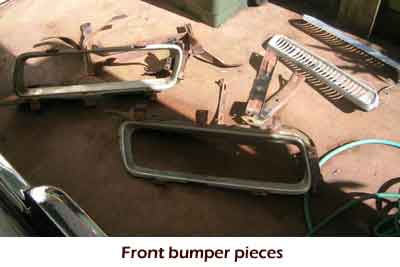
I decided to disassemble the replacement front bumper and rust treat all the parts. This took considerable time and with rusted bolts, it was a painful task. Nevertheless I got it all disassembled. I then lightly sanded the mounting brackets and wire brushed the back of the bumper to remove any loose rust. Finally I scrubbed everything with soapy water and left it to dry. At this stage I decided to polish the inner rings of the bumper pods which brought them up beautifully. I just used cutting compound for paint. I did likewise with the
chrome bumper piece although John cleaned off the initial oxidation gently with steel wool. I was going to polish the pod grilles but we decided that the original ones on my car were in better condition so we would wait and use them. Next job was to coat the mounting brackets and other rusty pieces with rust converter. I also painted cold gal on the back of the bumper. Then I painted the rust converted pieces with black spray paint and left to dry. I also spent time running taps through all the fastening nuts and dies along all the bolts to remove any rust and crud and make reassembly smoother.
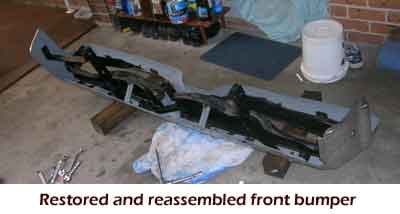
6th February 2010: Reassembly day ! It took a while and I had some problems lining up the mounting holes in the four brackets per side but I got there in the end. The cleaned and
polished reassembled bumper looks so much different to the dull cruddy thing I started with !
14th February 2010: Today we decided to install the restored front bumper. I removed four of the five bolts that hold it to the chassis and also disconnected the wires for the parking lights. Then with John supporting the weight I removed the last two bolts and then I helped John lower the bumper to the ground. Damn it's heavy. I then set about removing the pod grilles and parking lamps from this bumper, cleaning and polishing them and installing them on the restored bumper. At this point John set
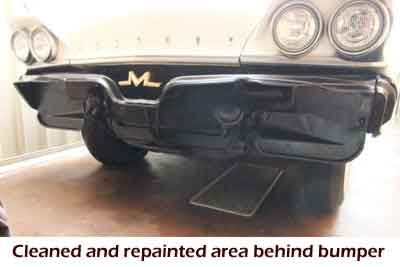
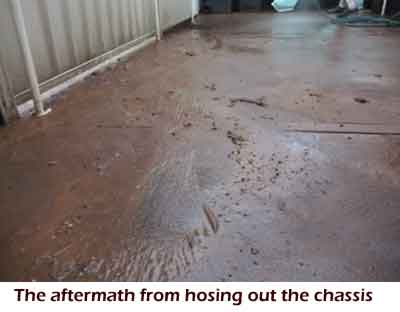
about cleaning and detailing the front of the car behind the bumper. It was quite dirty and there was a lot of surface rust. John hosed it all off, he also hosed out the engine air intake duct that runs inside the left-hand fender. Brown water everywhere ! Then John painted black all the surfaces behind where the bumper goes. It all looked very smart after he had finished. I then noticed how much crud there was inside the chassis box section at the front of the car. I cranked the hose up to high pressure and started to blast it out. Brown
water, brown water and more brown water. I poked my finger inside the chassis at multiple points along the length of the car and discovered that it was half to three quarters full of dirt all the way along ! But for the fact that this car lived in a hot dry climate it would have had a short life. I decided I had to get the dirt out and so I changed into my swimming costume, put the hose on full bore, and blasted water into the chassis everywhere I could to flush out all the dirt and gravel inside. It was gobsmaking how much brown water came out. Have I mentioned the brown water...? Also in both chassis rails I cleaned out mouse nests complete with mouse skeletons ! What
excitement. When the paint had dried John helped me to install the restored bumper. It actually has slotted holes for in-out adjustment and eccentric bolts for up-down adjustments. Quite a neat set-up. The new bumper looks amazing ! It really lifts the front of the car and was worthwhile doing. The improvement is remarkable.
21st February 2010: Time to start on the rear bumper ! It's frustrating to have to go to all this bother just because someone drilled a hole in the original one. The replacement rear bumper was in worse condition than the replacement front bumper had been. A number of the bolts were so rusty that they sheared off and it takes considerable force to shear off a 7/16" bolt. Finally got it all apart and repeated
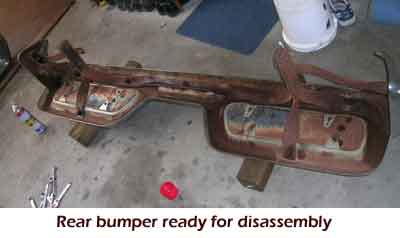
the process of removing loose rust and rust converting and painting the brackets and painting cold gal on the inside of the bumper. We also gave it a good polish. While the bumper was off the car I gave the back of it a good scrub.
28th February 2010: When all the pieces were ready I reassembled the bumper, replacing the ruined bolts with good ones from the original front bumper. The E-bay auction actually came with a NOS set of rear pod backing plates and reflectors which John installed for me and they look fantastic.
 7th March 2010:
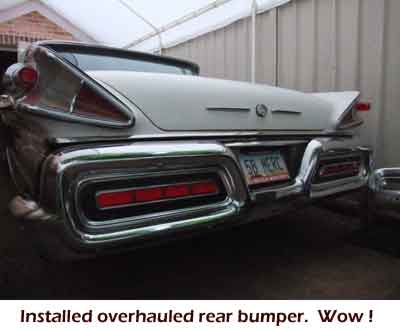
 Had a bit of time left before it got dark so John and I decided we would install the overhauled rear bumper. It is not as heavy as the front bumper but still needs two people to lift it into place. It should then be a simple matter of tightening the six bolts that hold it to the chassis. All went well for five of the bolts, the last one kept cross-threading the bolt. After much fiddling around I ended up lowering that side of the bumper and in the absence of a tap for the thread, I used the bolt and screwed it in from the back side of the caged nut to straighten the threads. Then I was able to screw the bolt in again from the front side. A few height adjustments later we stood back and admired our handywork. It looks a real treat !
One day I will get both bumpers rechromed which will be expensive but totally worth it...


